Development Tools
Development Environment Setup Process
| Step | Operation | Instruction | Description |
|---|---|---|---|
| 1 | Download the software | Installation package for Windows OS | Download the IDE. |
| 2 | Install the software | Decompress the package to a directory. | Install the IDE. |
| 3 | Generate a key | Double click 01-EnvCheck.bat if no key is available. | Generate a private key. |
| 4 | Run the IDE | cd IDE installation directory; \n Double click ide.vbs | Run the IDE. |
| 5 | Create a project | Choose File -> New -> Project -> Js Project | Create a JS project. |
| 6 | Compile the project and run the emulator | Click Terminal -> Enter run.bat | Compile the JS project to generate bin and hap packages and run the emulator. |
| * | Q&A |
Downloading Xiaomi Watch IDE
- Download Installation package for Windows OSIDE to the root directory of C drive.
Install the software
- Decompress the installation package to XinAnIDE.
Generating a key (for companies without private.pem or certificate.pem)
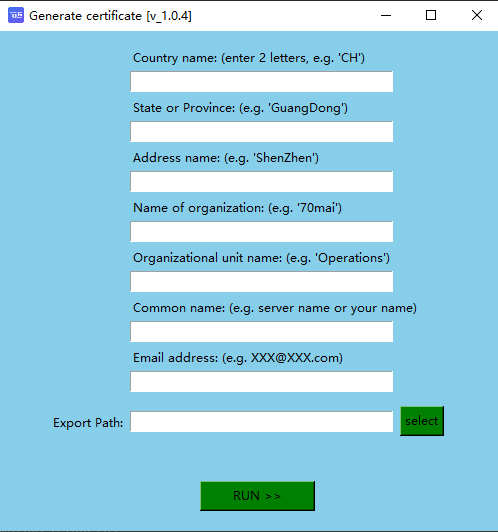
- Double click “01-EnvCheck.bat” in the installation directory.
- Enter the required information according to the actual situation and then click “Generate Certificate”, as shown in the following figure. Close the window after successful certificate generation.
- Install dependent dynamic libraries of the emulator automatically if the software detects that these libraries are required.
1. Convert a jks certificate to pem format (for companies with an available jks certificate)
If you do not have keytool.exe, you can add the environment variable XinAnIDE-0805\plugins\jbr\bin\keytool.exe
- Generate jks using keytool (skip if you already have one inside your project) keytool -genkey -keyalg RSA -keysize 1024 -validity 365 -dname "CN=spdb, OU=spdb,O=spdb, L=shanghai, ST=shanghai, C=CN" -alias csii_key -keypass 888888 -keystoredemo.jks-storepass 123456
- jks is converted to p12 keytool -importkeystore -srckeystore demo.jks -destkeystore demo.p12 -srcstoretype jks -deststoretype pkcs12
- p12 is converted to pem openssl pkcs12 -nodes -in demo.p12 -out demo.pem The demo.pem file can be generated in the same directory
- Copy the private key and certificate Copy the contents of the -----BEGIN CERTIFICATE----- and -----END CERTIFICATE----- sections into certificate.pem Copy the contents of -----BEGIN PRIVATE KEY----- and -----END PRIVATE KEY----- to private.pem
- Viewing public Keys (can be skipped) openssl x509 -in certificate.pem -pubkey -noout Copy the contents of -----BEGIN PUBLIC KEY----- and -----END PUBLIC KEY----- into public.pem
2. Convert a keystore certificate to pem format (for companies with an available keystore certificate)
- The original app signature file.keystore file generation terminal run the following command: keytool -genkey -alias app.keystore -keyalg RSA -validity 20000 -keystore app.keystore keytool -list -v -keystore test.keystore -storepass 000111 (password for step 1)
- Convert the keystore file to a PKCS12 file: keytool -importkeystore -srckeystore app.keystore -destkeystore app.p12 -srcstoretype JKS -deststoretype PKCS12
- Dump files in PKCS12 format to pem: openssl pkcs12 -in app.p12 -nodes -out tmp.rsa.pem
- The generated tmp.rsa.pem contains certificate and private: Copy the contents of "BEGIN CERTIFICATE" to "END CERTIFICATE" to (create a new file) certificate.pem Copy the contents from "BEGIN RSA PRIVATE KEY" to "END RSA PRIVATE KEY to" private.pem
Run the IDE
Open the IDE installation directory, open the ide.bat file in Notepad, and then modify the path in set KEY=C:\Users\xa\Desktop\demo into the path of your private.pem or certificate.pem.
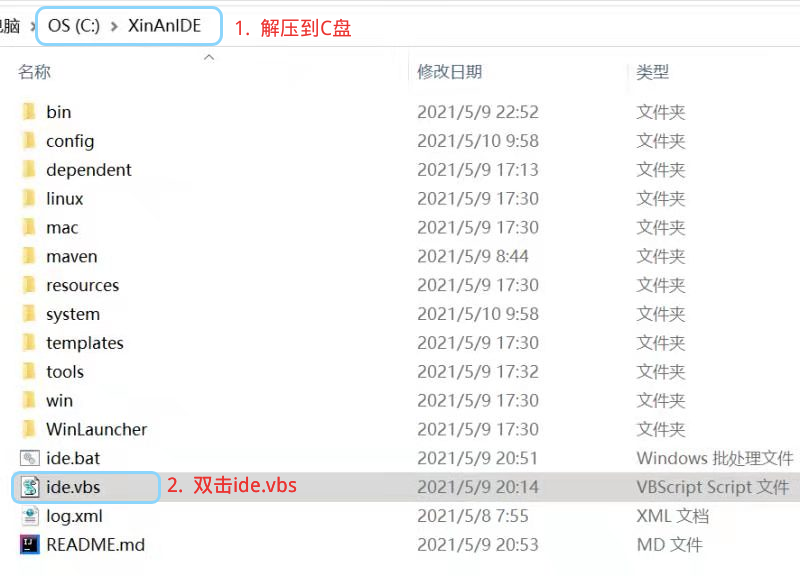
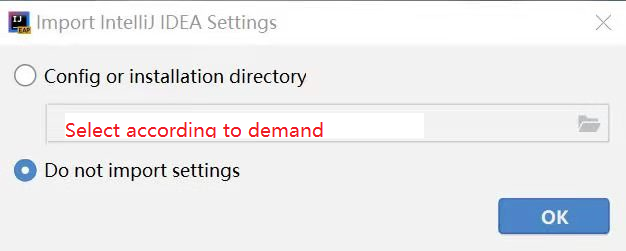
Double click ide.vbs in the IDE installation directory. A configuration file is generated in one to three minutes during the first run of the IDE.
Create a project
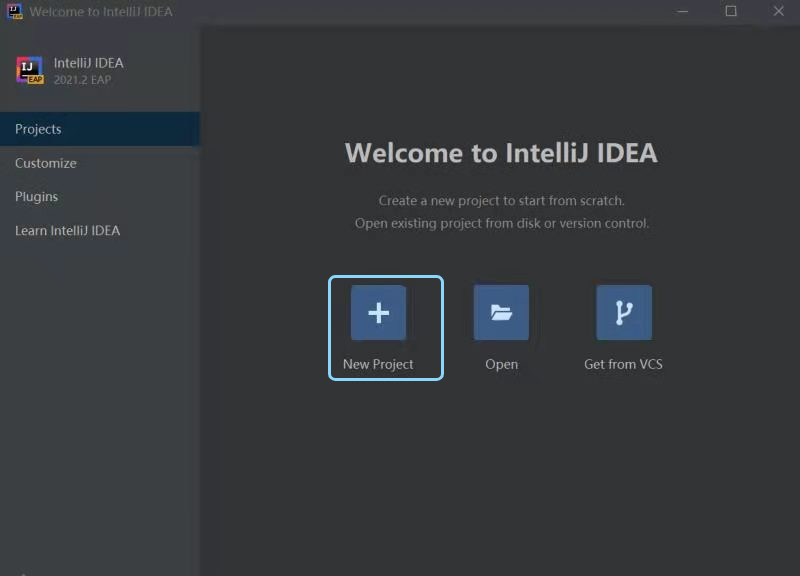
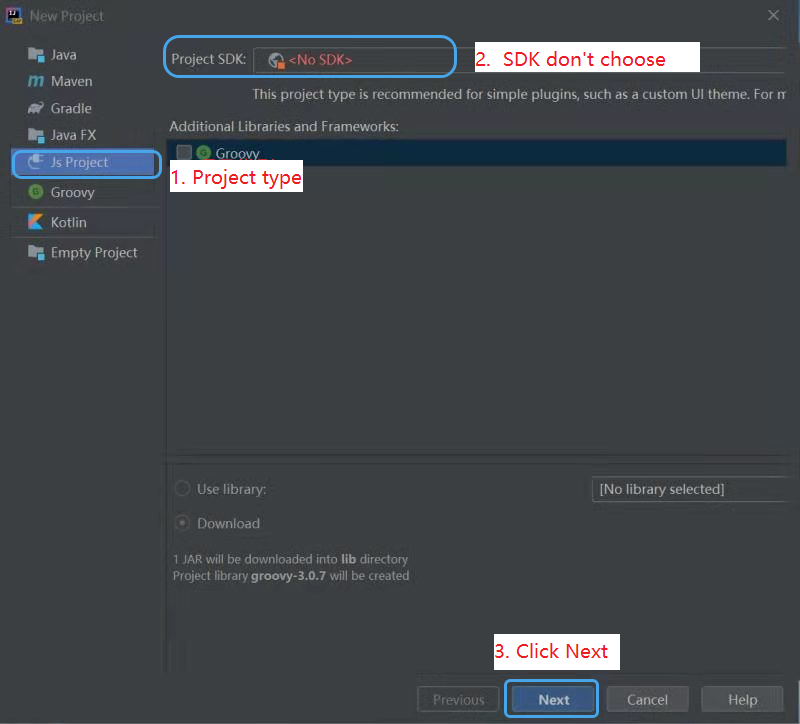
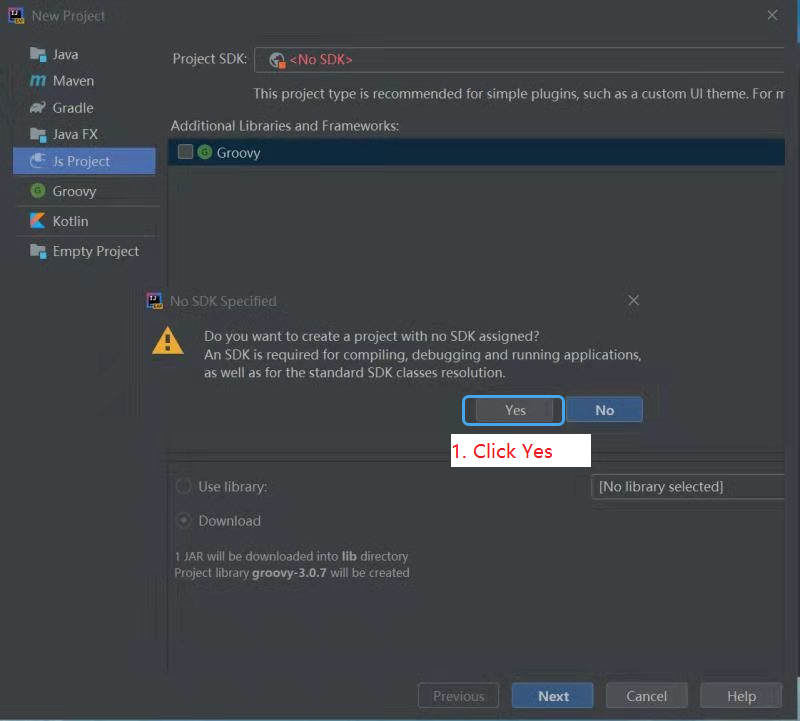
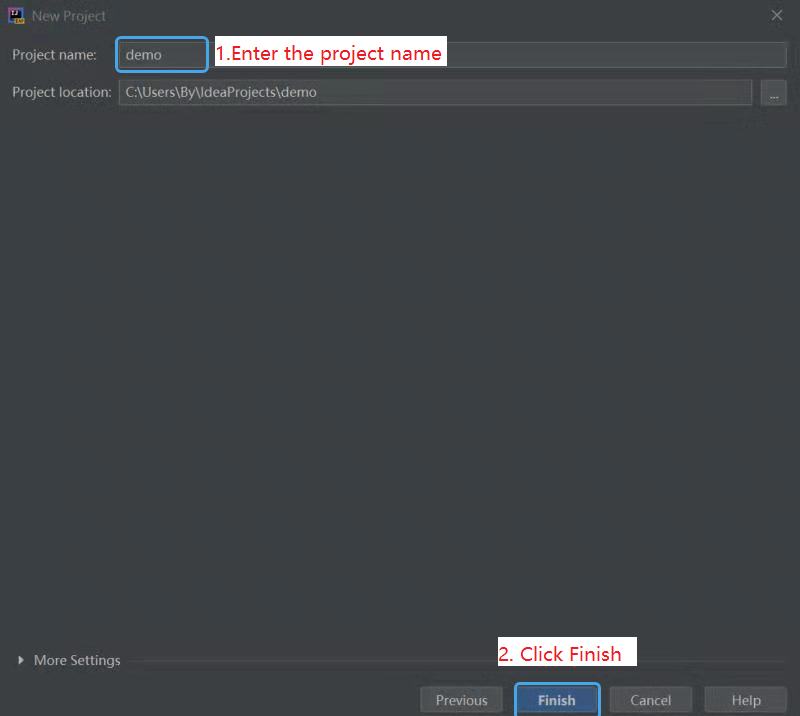
- Choose File -> New -> Project -> Js Project (the hyphen - is not allowed in project names)
Compile the project and run the emulator
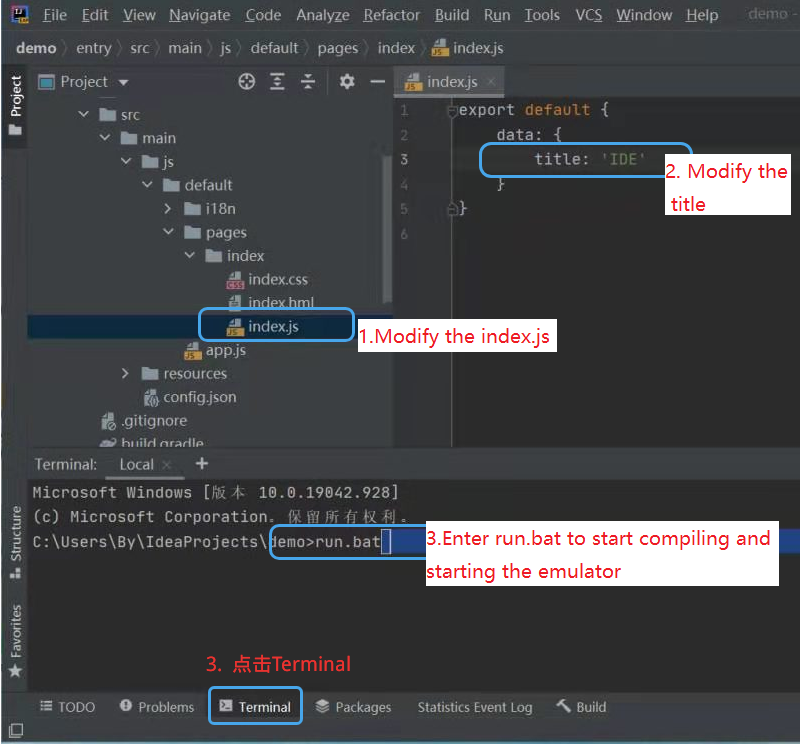
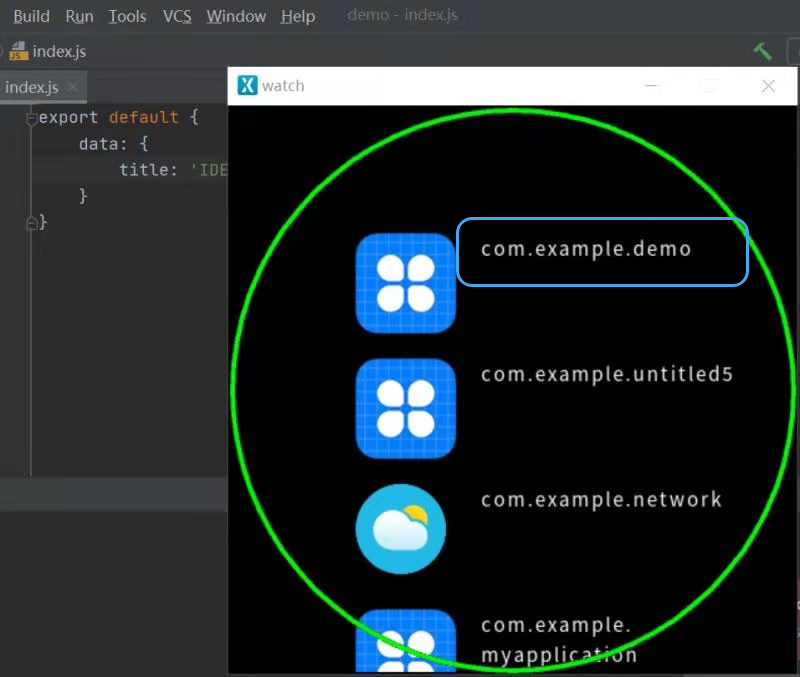
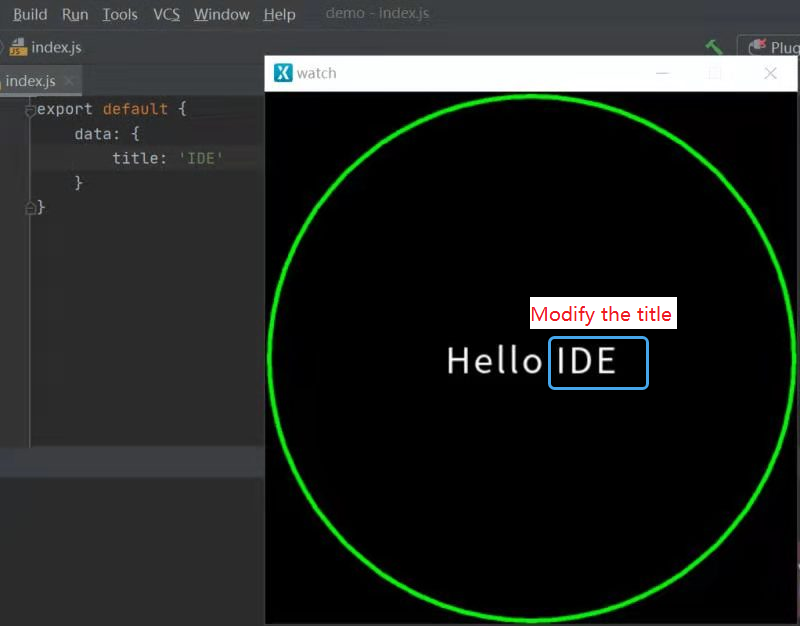
- Click Terminal -> Enter run.bat Use the IDE to compile the project for the first time. If gradle is not available, the IDE will spend about 30 seconds to download gradle.
Q&A
If a previous project needs to be imported after the IDE is updated, copy IDE installation\templates\src\run.bat to the root directory of the current project.
rpk files are located in \build\ in the project root directory, which is available in XinAnIDE-0812 and later versions.
XinAnIDE-0827 update: change the image uploaded to the application market
Method 1:
After downloading the latest IDE extract, modify the set key in ide.bat.
Method 2:
- Replace run.bat in the root directory of the current project with XinAnIDE-0827\templates\SRC\run.bat.
- Copy XinAnIDE-0827\templates\SRC\convertRPK.exe to the current project root directory.